Tutorial: how to dynamically add content to a Postmark Template

Recently, Val Sopi from blogstatic contacted our Support team to ask whether he’d be able to turn his blog posts into newsletters and send them out through Postmark, bypassing that famous marketing platform that is as yellow as ours (✉️ 🦍).
Our answer was yes: he could do that by dynamically adding content to existing Postmark Templates—which is something anyone can do if they're using our service to send email. Once Val messaged back to tell us he'd been successful, we invited him to join us on Zoom and demo his process so we could write this tutorial for you.

Step 0, prerequisite: set up Postmark
#
To send newsletters (or any other type of email) via Postmark, the prerequisite step is... to set up Postmark. We’ll assume most of you reading this page have already done it—but if that’s not the case, here are the setup instructions you can follow, just like Val did to start using Postmark via our email API.

Step 1: create your email template #
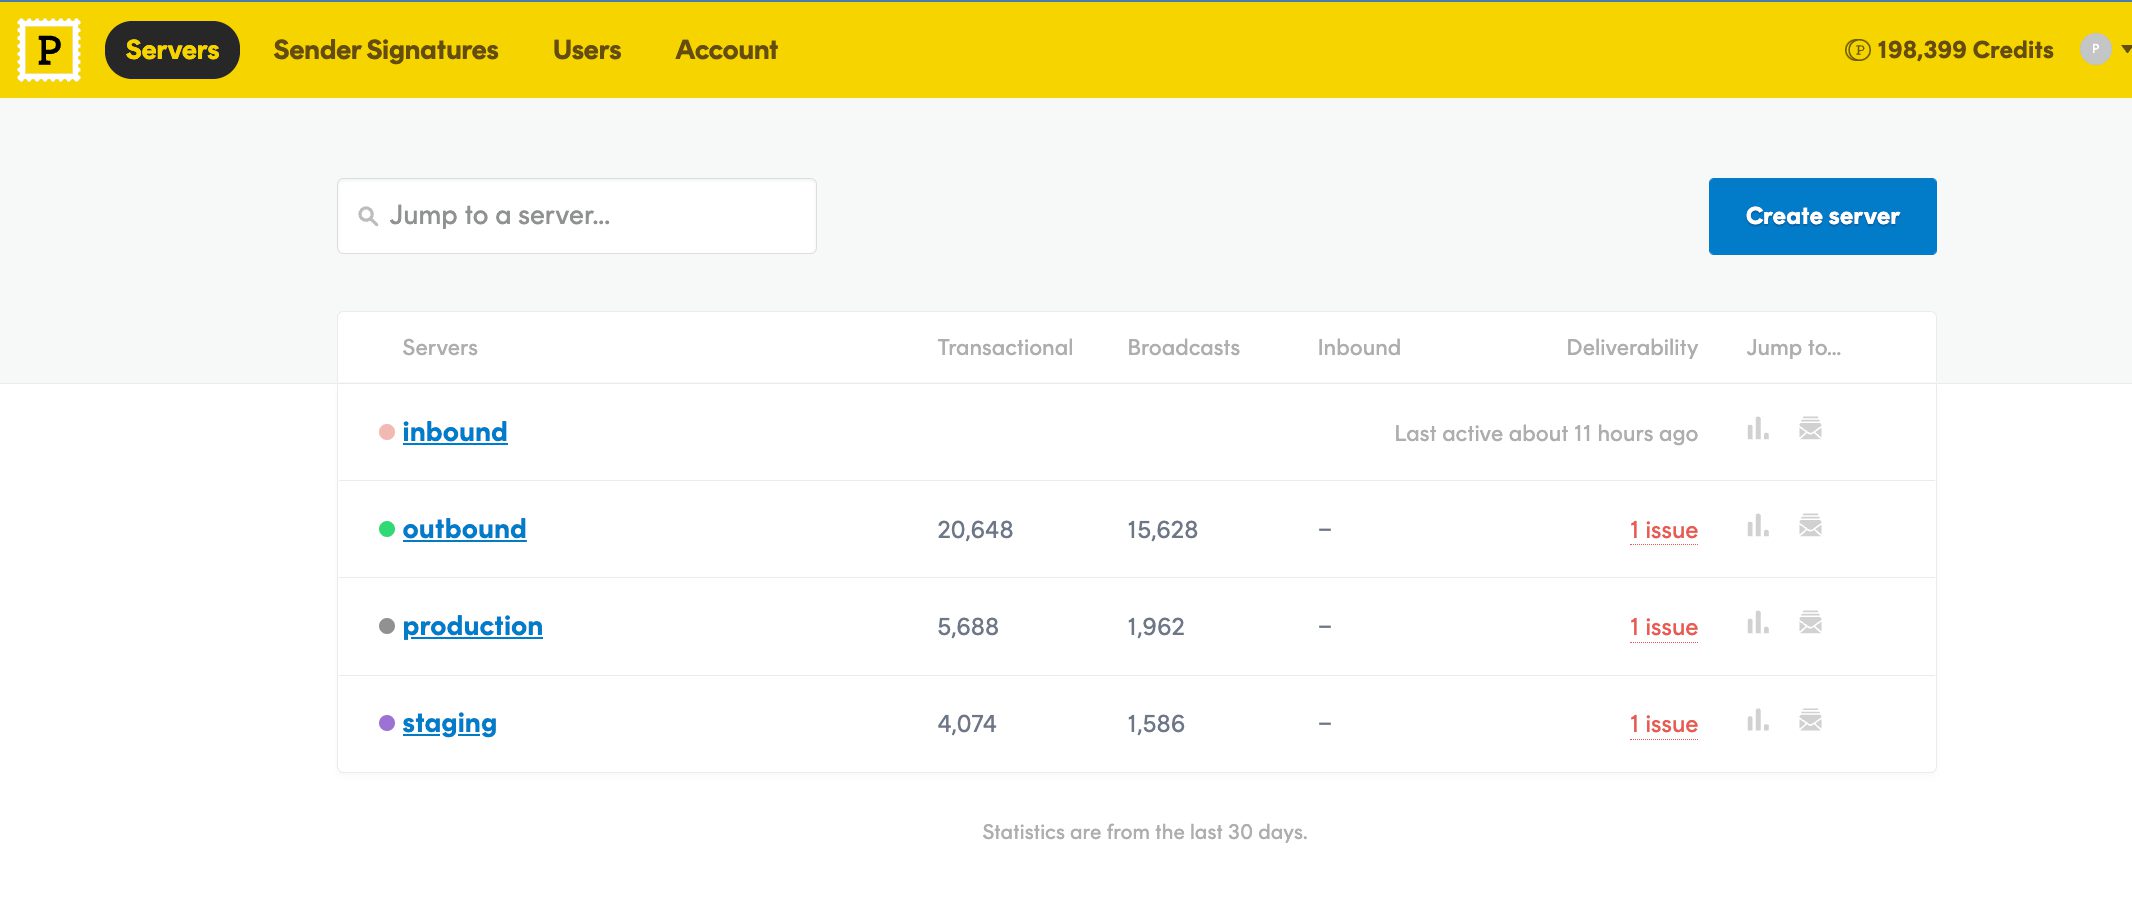
Once you’re set up, go to the dashboard, select the existing server you’d like to send your emails from or click Create server to create a new one:
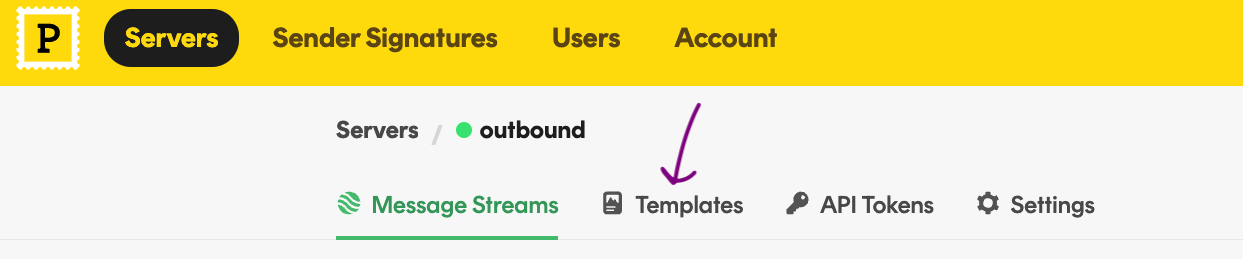
Once in the server, select Templates:
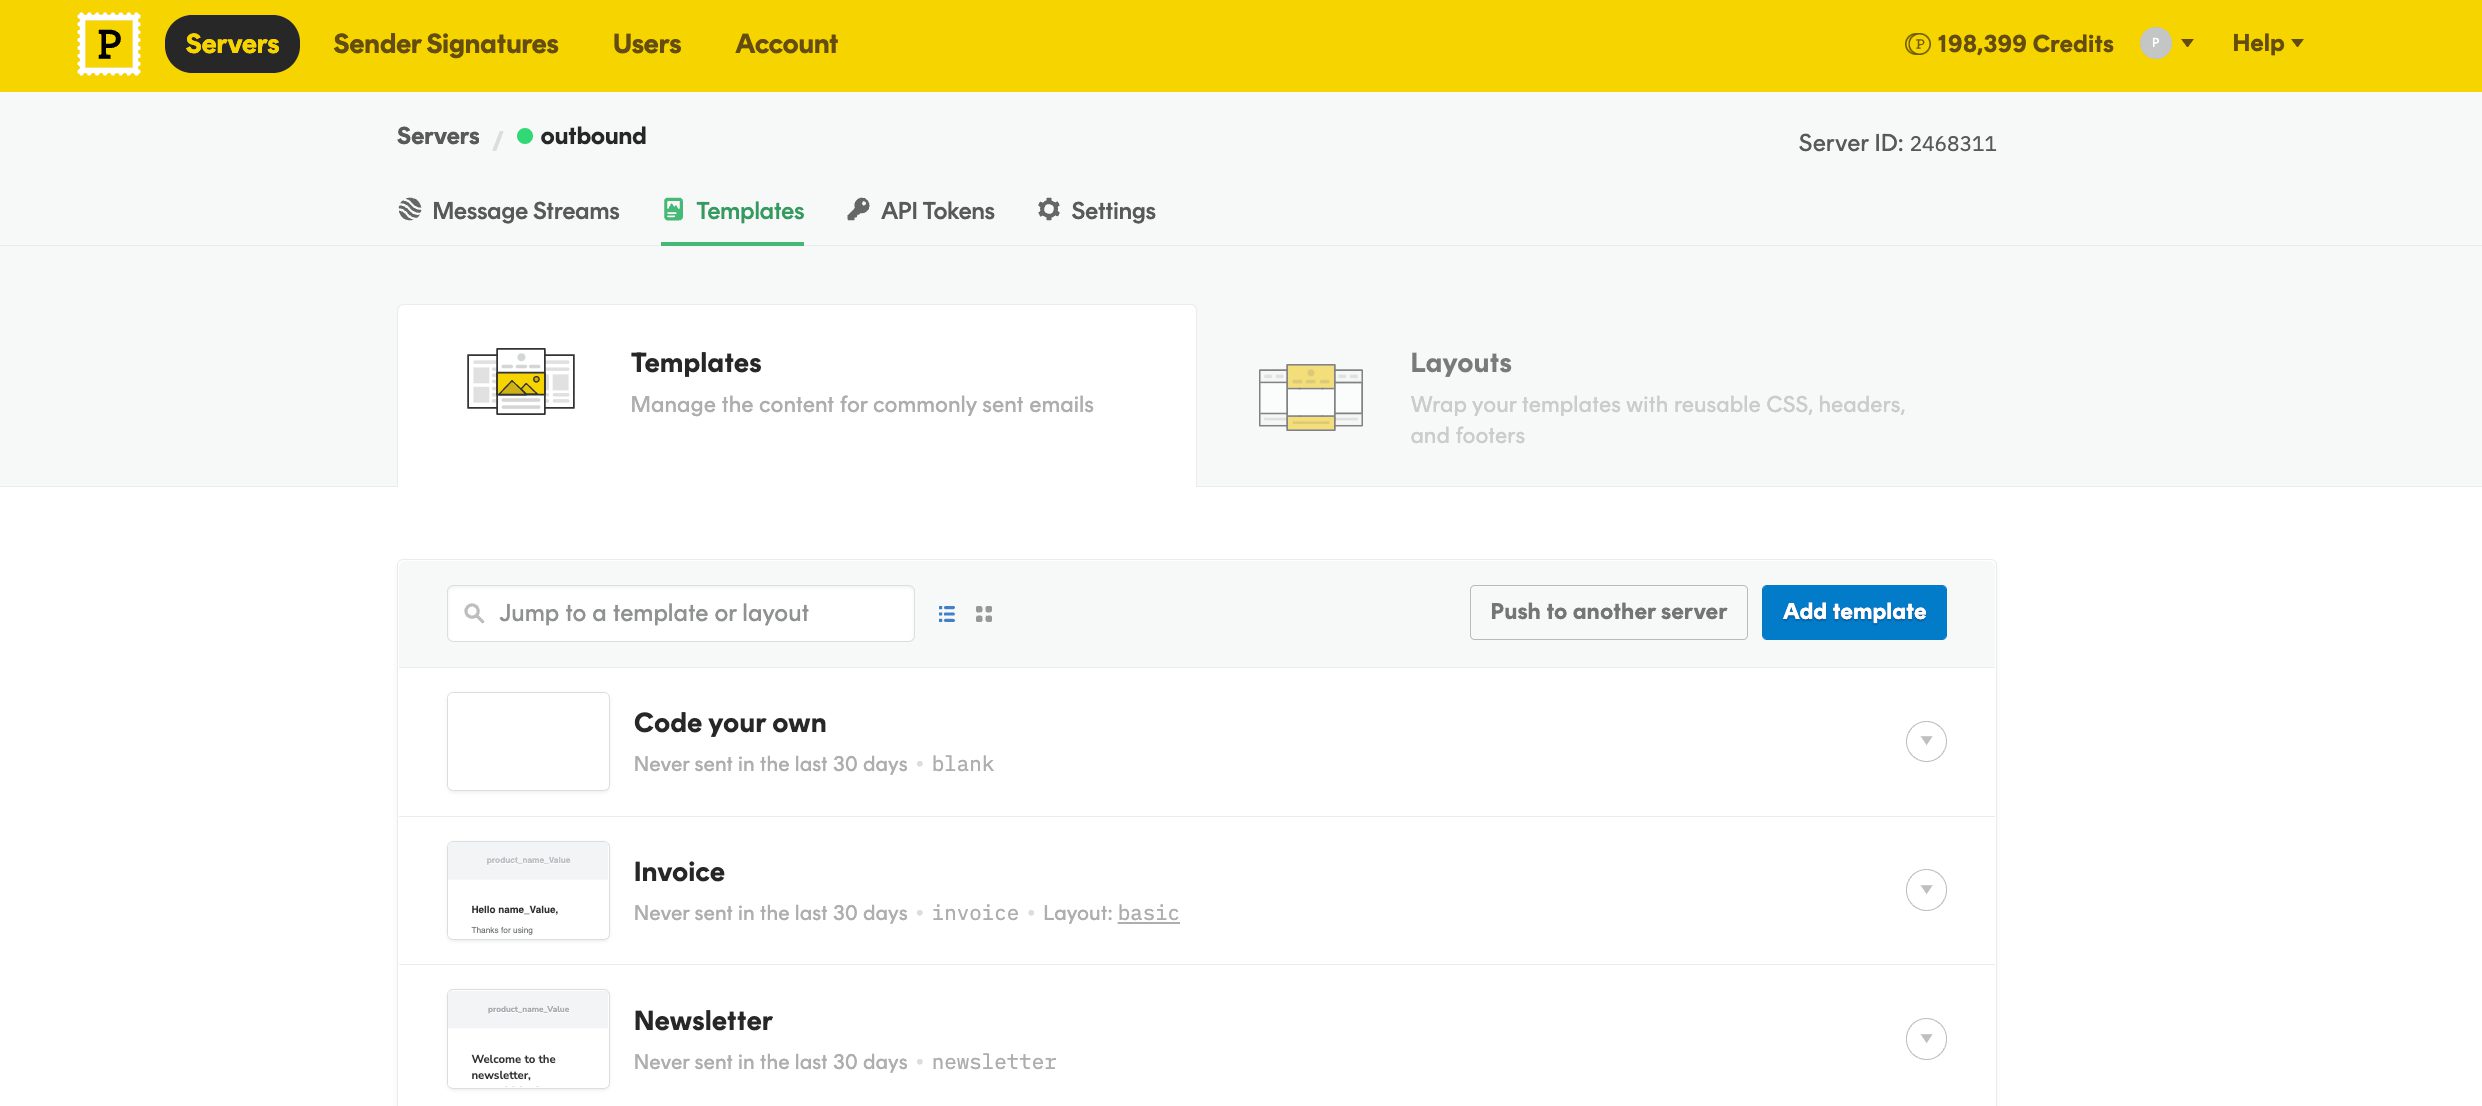
You’ll find yourself in the templates dashboard. From here, you can either Code your own template or use one of our content-ready ones by clicking on Add template:
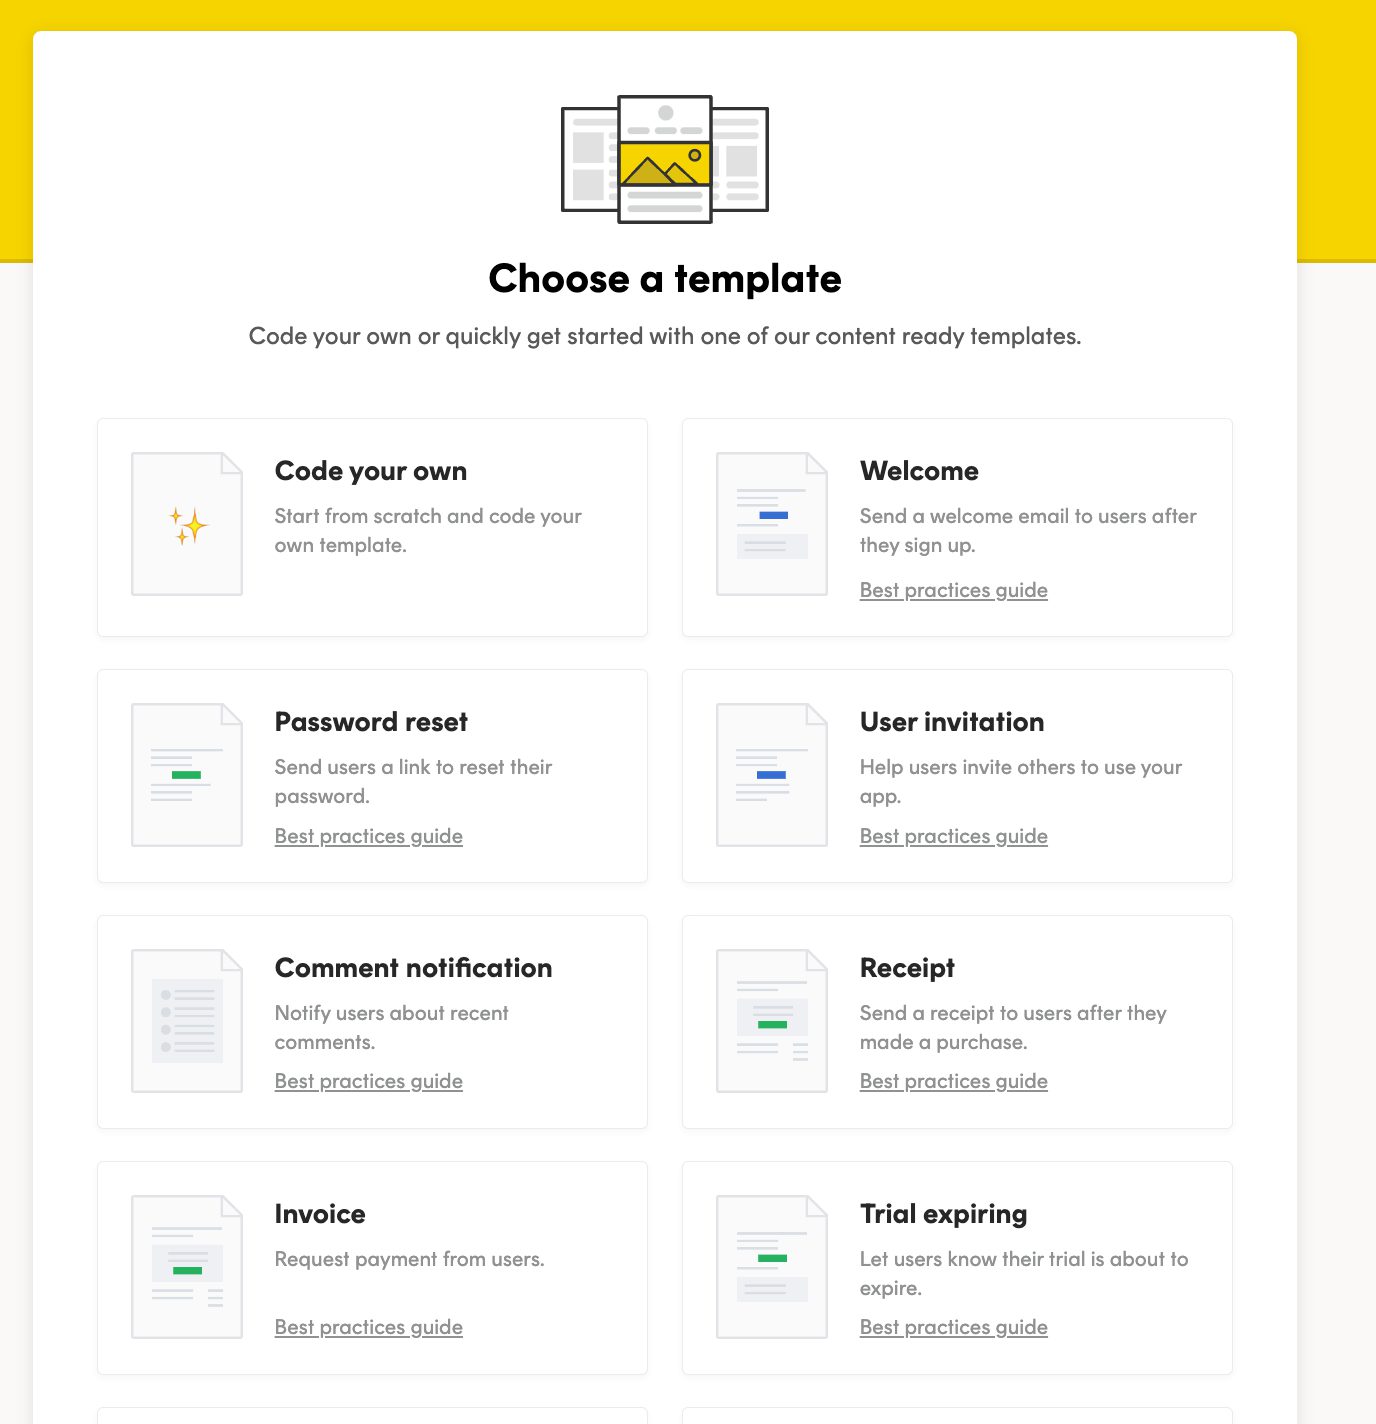
If you picked Add template, you will be able to choose one of the pre-built ones—they can be edited later! For example, Val picked the Welcome template as his starting point:
Once you pick a layout option from the drop-down menu, the template is ready for editing.
Step 2: set your variables #
Before you can add variables into the template, you’ll need to make sure you’ve coded them into your application and in your API call to Postmark. In our documentation, we call this the TemplateModel; at a very basic level, the content could look something like this:
{
“TemplateModel”: {
“user_name”: “Kamala Khan”
}
}

This was Val's API call:
$newClient = new PostmarkClient($token);
$responses = $newClient->sendEmailBatchWithTemplate($messages);
Create a variable for each unique piece of content you’d like to display in your email. For example, here you can see the variables Val created for his TemplateModel in this preview from his code editing tool, like “blog_image”, “post_title”, and “blog_copy”.
Each of these variables corresponds to content generated by Val’s users in the blogstatic application:

Step 3: layer your variables into the template #
With your variables set, you can now reference them in your template using Mustachio, Postmark’s simple, yet very powerful template syntax.
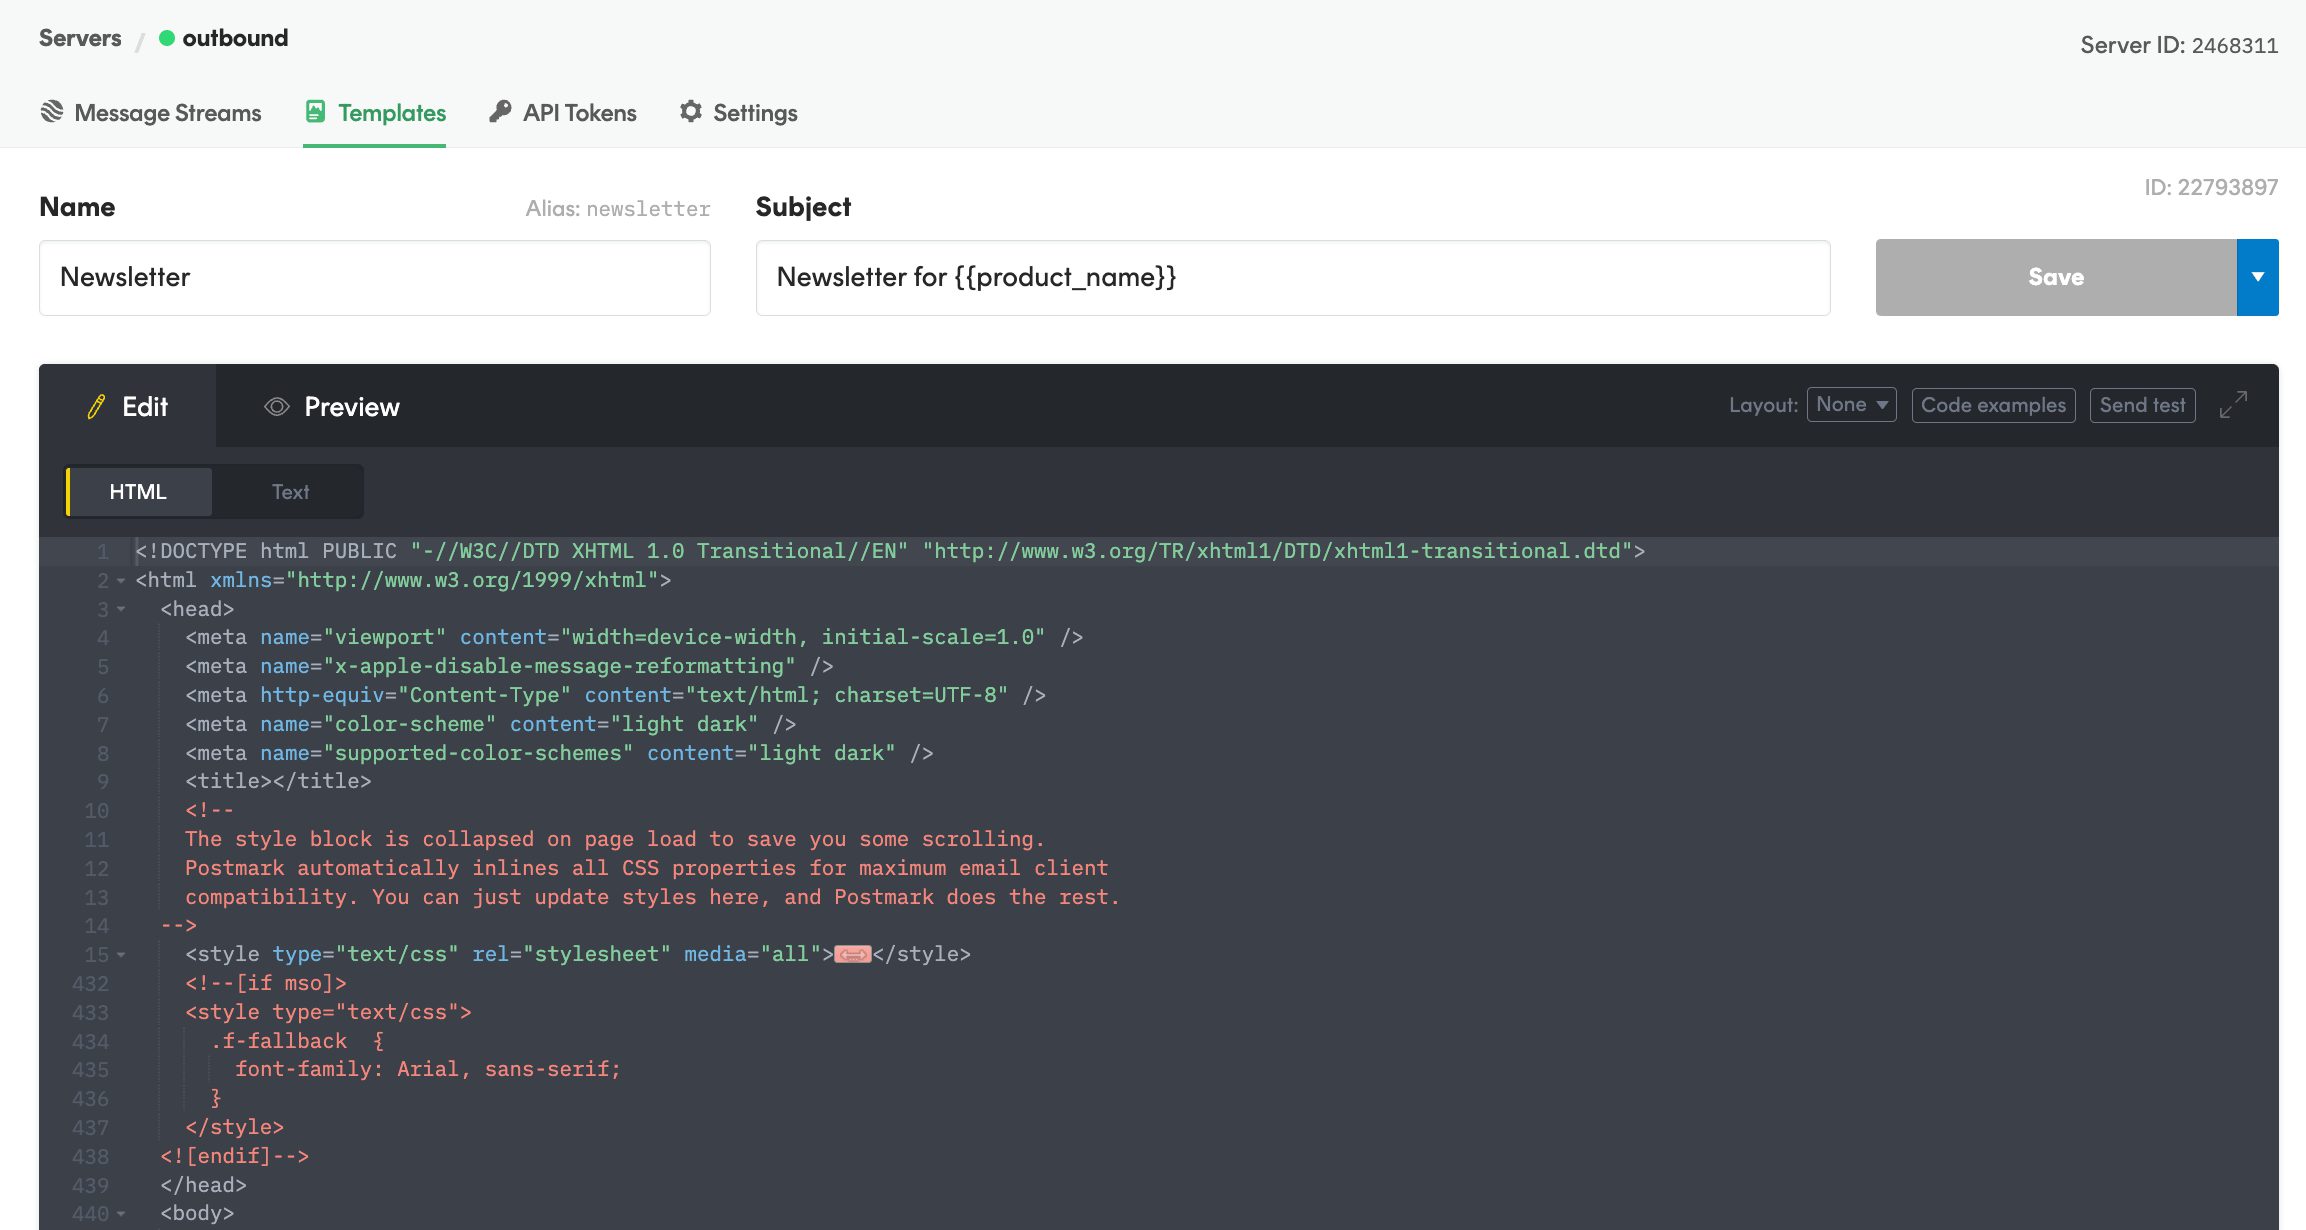
You’ll layer the variables into the template HTML where you’d like the dynamic content to appear. Here’s a snapshot of what that looks in Val’s email:

Pro tip: you can take advantage of Postmark’s Template Syntax to conditionally show content. This is really powerful, as you are able to show part of an email Template if it’s present at the time of sending (e.g. you could display an order tracking link if ‘order tracking value’ is passed) or not when the element is not there (e.g. an intro or other information, like a URL).
For example, within blogstatic Val can select which elements of his email should appear (or not) in the newsletter. The section titled Custom message you can see below will show if it’s present vs. not show if the field is left blank once the email is sent via Postmark.
Step 4: send a test email #
Use the preview to make sure everything looks good:
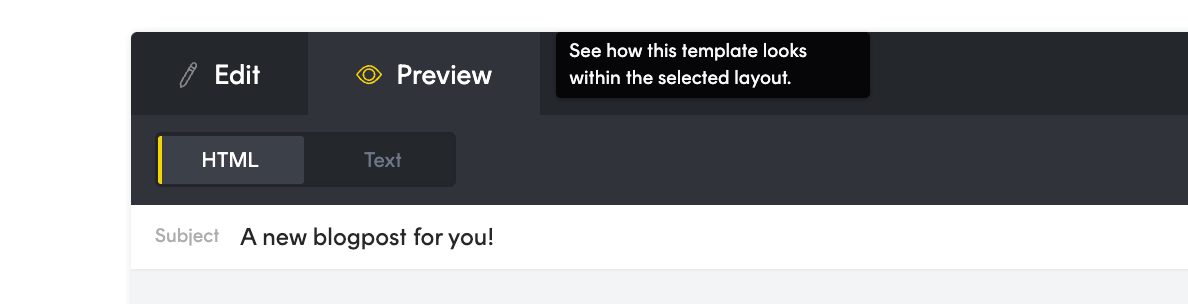
Once you’re happy with the results, you’ll want to see how your email renders in an actual client. Click Send test to send a test email using your current test variable:

And here is a preview of Val’s email:
 email to his subscribers")
If everything looks good, congratulations: you're ready to send.
Summary #
In this tutorial you’ve learned how to dynamically add content to existing Postmark templates. Now you've got the basics mastered, take a look at our transactional email templates to see if any of them spark new ideas for your emails 😉
